
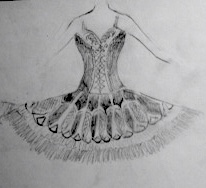
型紙作成:イメージ画を描く
イメージ画とそれを基に描いた上掛け図案2つ
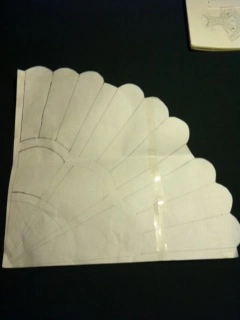
図案1で作る
図案1で上掛けを作る
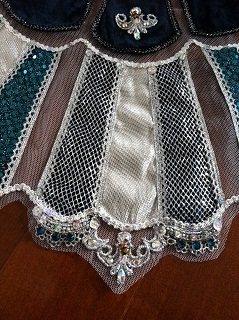
使用する生地・素材を選定し、基本パーツをのせます。”タンバリン”のイメージです。
周囲と中心部にシルバーのトーションレースを加えます。
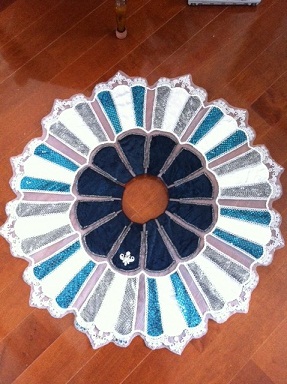
これをボンに乗せてみました。
トーションレースの色をシルバーにしたため、白のボンに乗せると目立たなくなってしまいました。
その対策として、華やかさを浮立たせるために濃色のダイヤスパンを貼ることにしました。
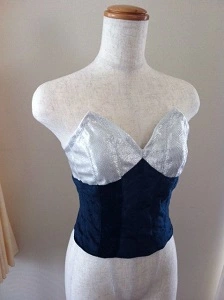
図案1で上身頃を作る
上身頃の原型
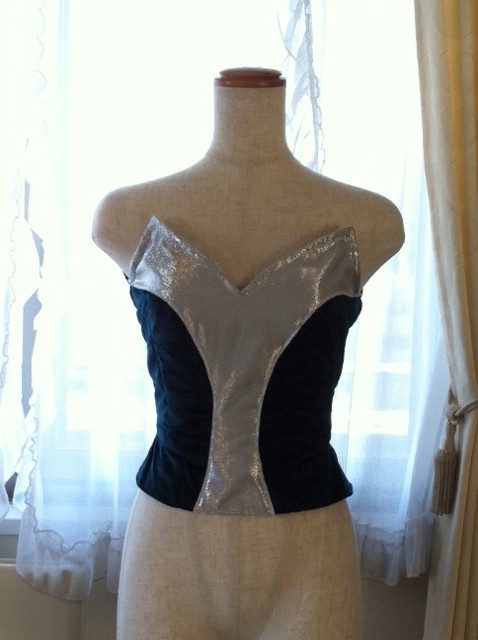
デザインのバランスを考えてみます。
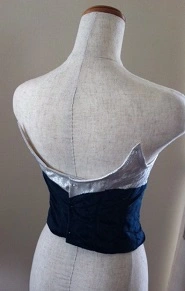
上掛けの中心部分に身頃に使った生地を使っているので、上下のつながりを考えて中心部分をV字型に修正します。

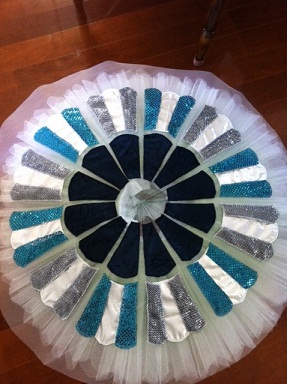
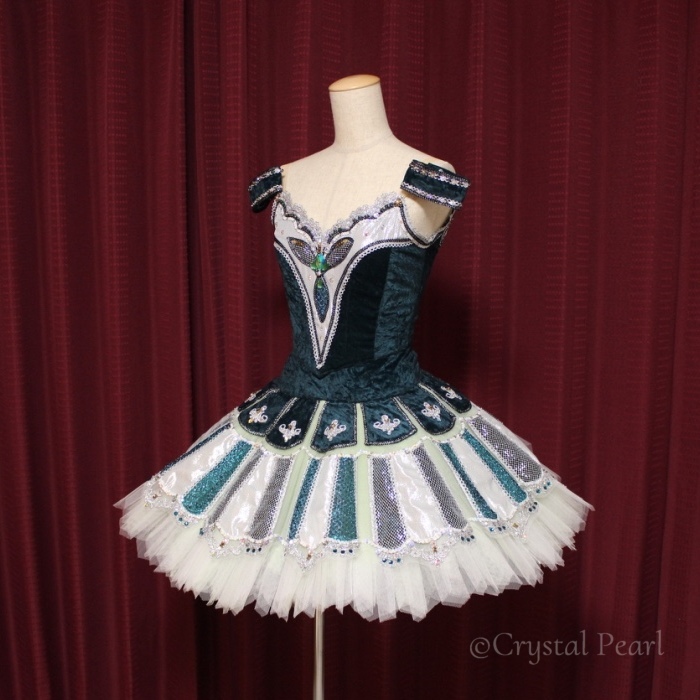
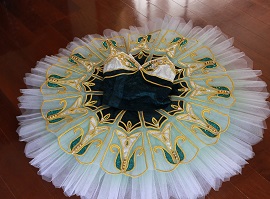
図案1の完成
組み合わせて完成です。
図案2で作る
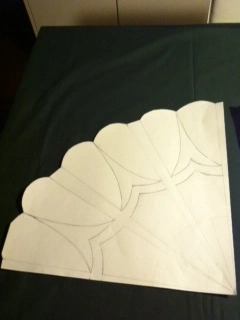
図案2で上掛けを作る
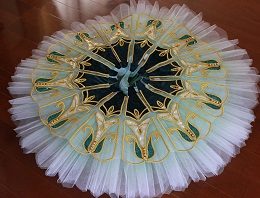
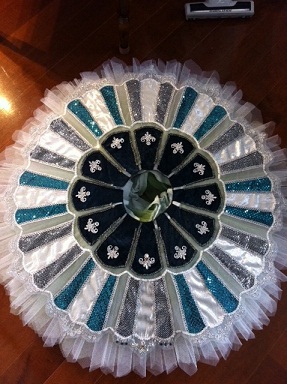
中心部分だけ生地を入れ、後はチュールにブレードを直接縫い付けるデザインにしました。
使用したゴールドのブレードの長さは約40メートルです。
図案2で上身頃を作る
バスキューがないタイプの型紙を新たに製作。14枚ハギの型紙にしました。
これにデコレーションし、床に仮置きしてデザインのバランスを見ます。
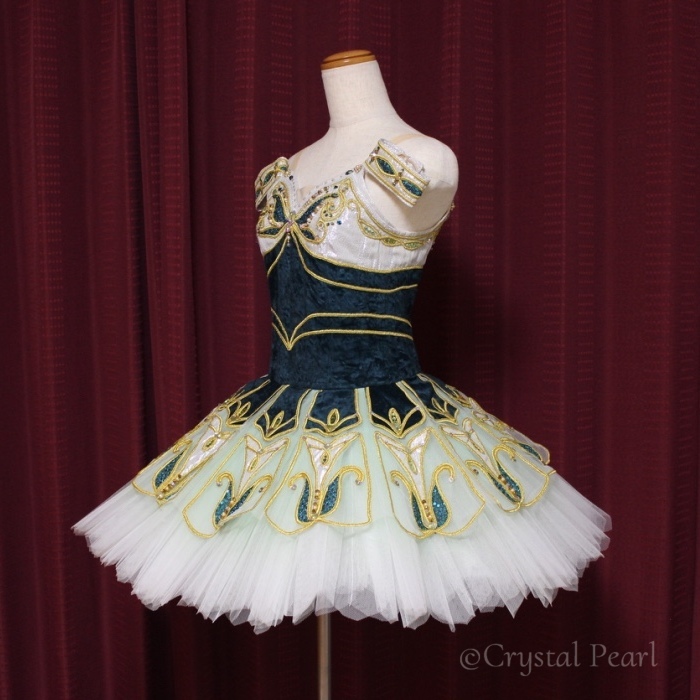
図案2の完成
床に仮置きしてデザインのバランスを見てみると、ウエスト部分が単調な印象です。
そこで、上掛けに使用したブレードをウエストに縫い付けて完成です。

パーティードレスならLULUTI