
「クリスタルパールのデザインはどうやって考えているの?」
この記事を読めば、クリスタルパールの衣装デザインをどうやって考え出しているか、その大まかなプロセスを知ることができます。
- モチーフを考える
- モチーフを図案化する
- 図案化したデザインに使う素材と色を決める
- 素材の色に合う衣装の基調色を決める
- 製作
自分で衣装を作りたいと思っている方で、デザインをどうしようか迷っている方はぜひ参考にしてください。
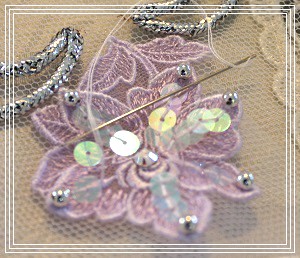
モチーフを考える
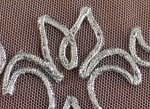
定番モチーフ
クリスタルパールの衣装には「定番モチーフ」があります。

2つの定番モチーフの基になった初期デザインはこれ↓
定番モチーフの例↓
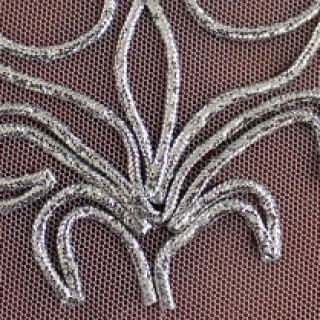
特殊モチーフ
定番モチーフ以外に、複雑な形をした「特殊モチーフ」を使うことがあります。複雑なモチーフも、小さなモチーフを基にして作ります。
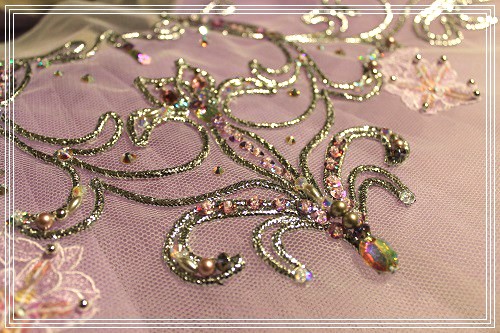
モチーフを図案化する
定番モチーフを図案化
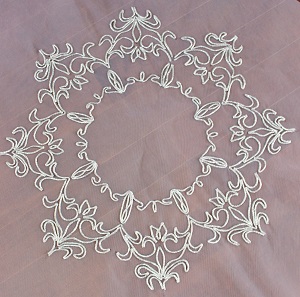
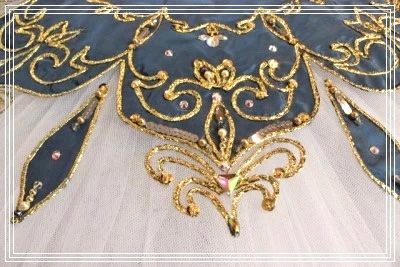
定番モチーフを図案に落とし込んで作った具体例がこちら↓
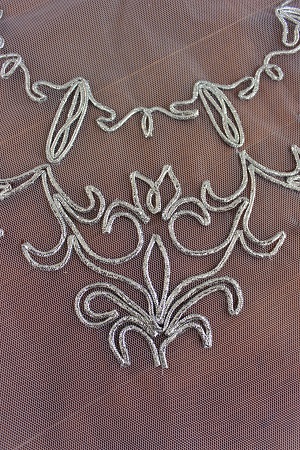
特殊モチーフの図案化
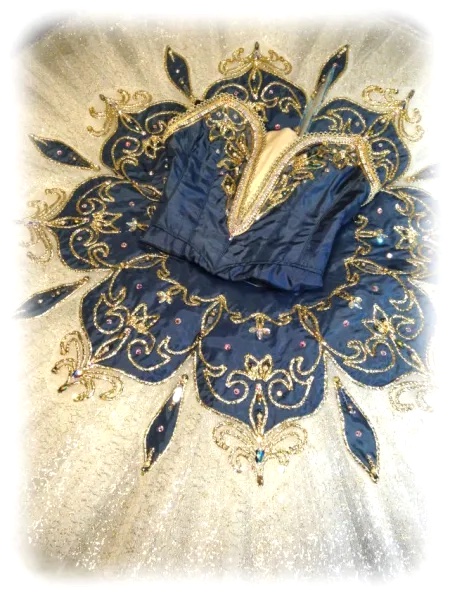
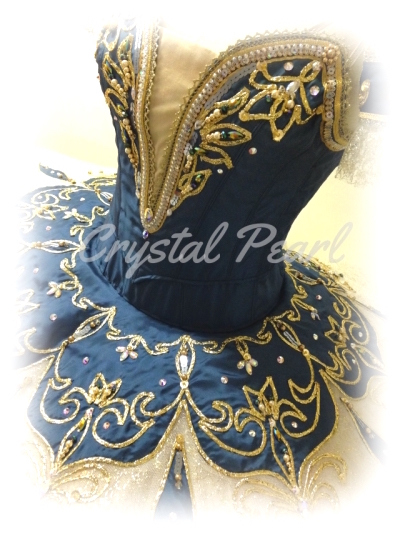
特殊モチーフを8枚組み合わせて作った上掛け図案↓
ちなみに、このような複雑な形をした特殊モチーフに使う資材は、できるだけ自己主張の少ないシンプルなものを使った方が良いです。
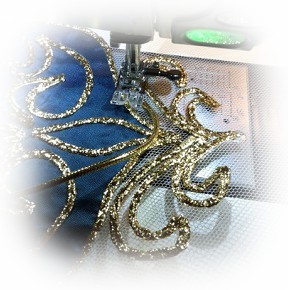
図案化したデザインに使う素材と色を決める
特殊モチーフの図案をどのようにデザインに落とし込んでいったか、そのプロセスを紹介します。
資材の基調色がシルバー
資材の基調色がゴールド
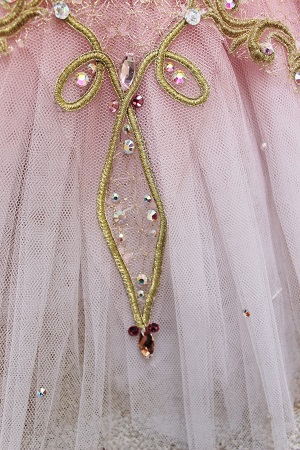
素材の色に合う衣装の基調色を決める
シルバーには淡いパープル
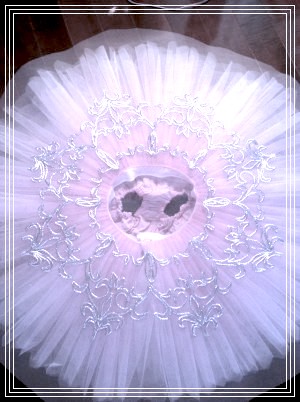
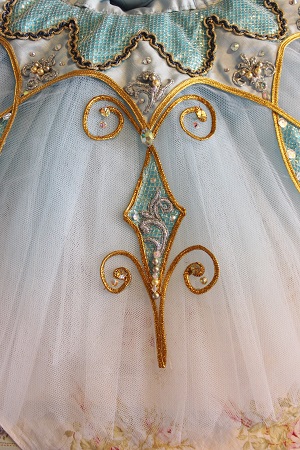
ゴールドにはモスグリーン
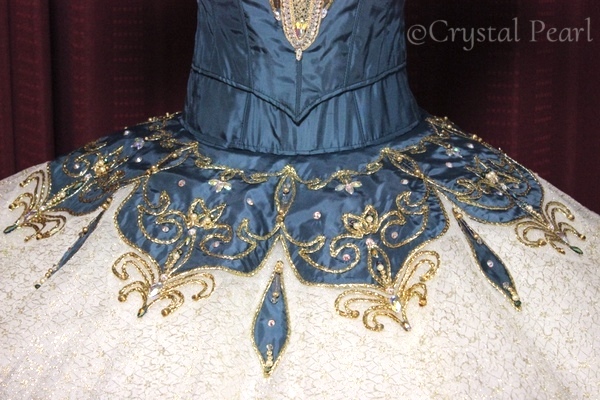
ゴールドのブレードが映える色として、衣装の土台の色にモスグリーンを選びました。特殊モチーフの背景にもモスグリーンの生地を加えることにしました。
背景にモスグリーンの生地を置き、ゴールドのブレードを縫いつけて、上掛けの基本が完成→周囲が少し物足りない感じ

リーフ型のパーツを加える
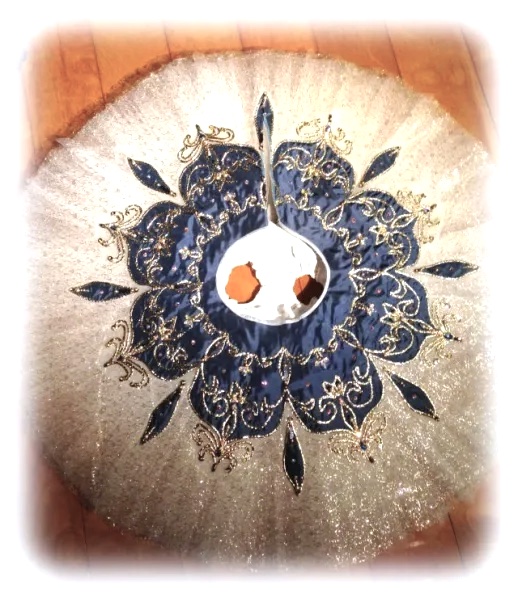
製作
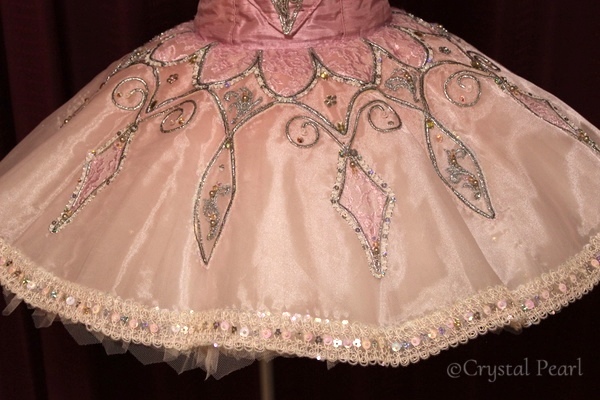
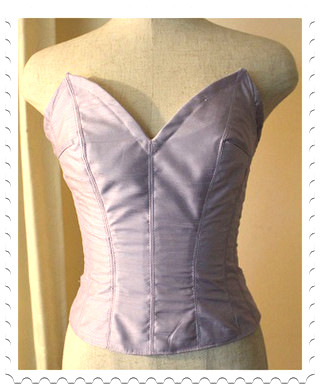
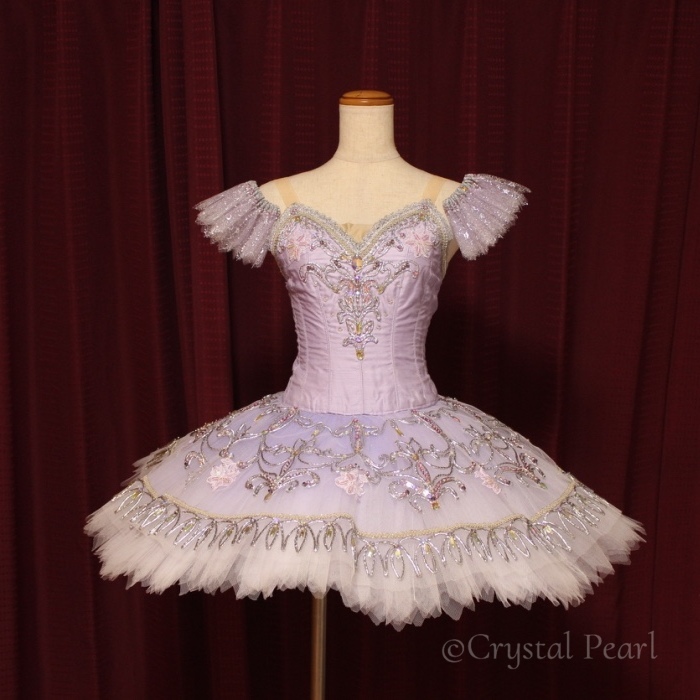
クラシクチュチュ(パープル)ー4
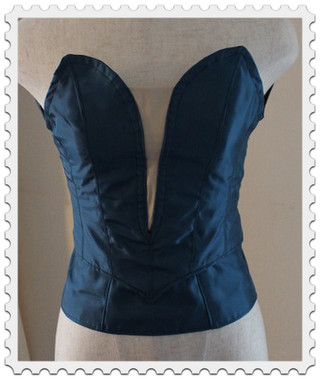
身頃作り
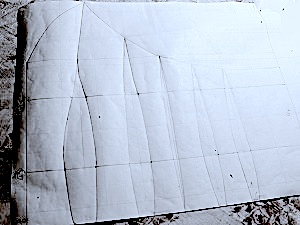
身頃の型紙は、既製の型紙を修正・変更して作ります。
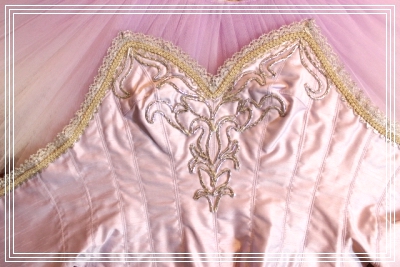
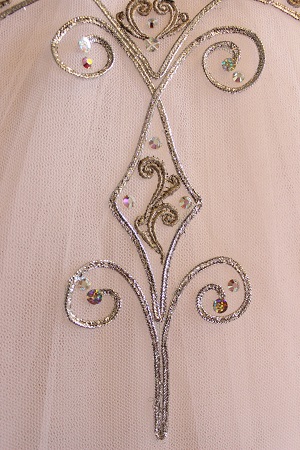
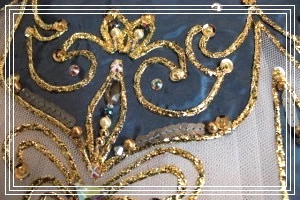
デコレーション
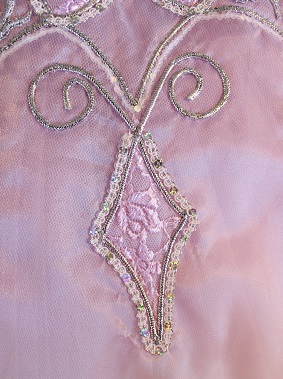
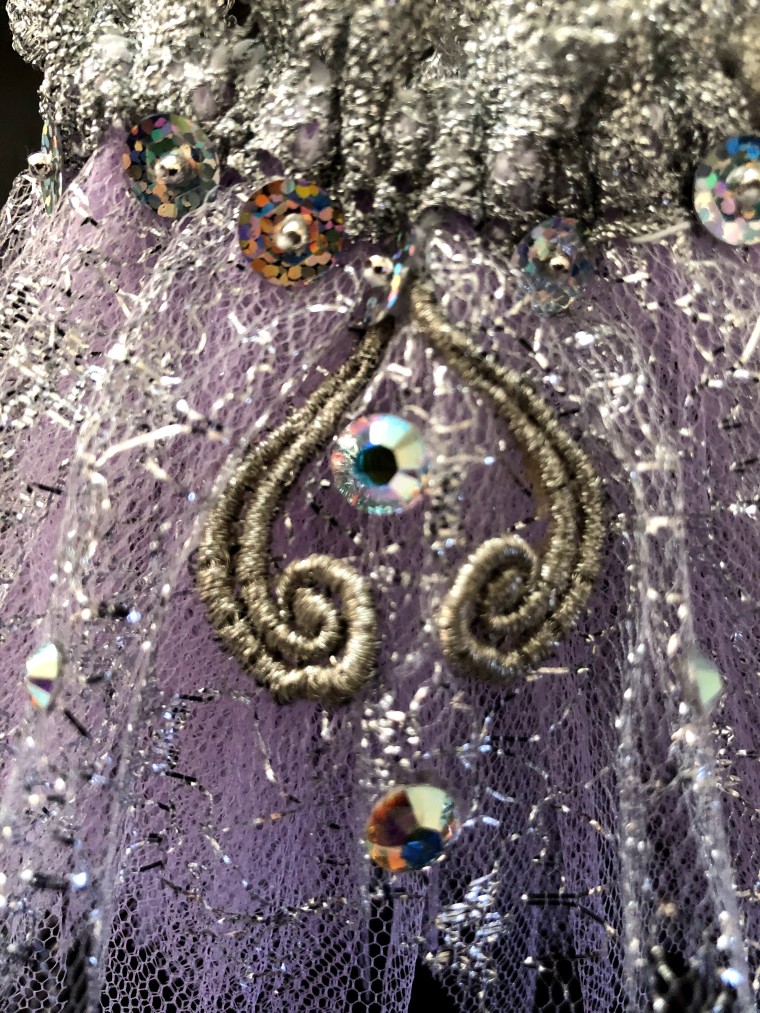
デコレーションのアップ画像
↓
淡いパープルにシルバーのブレードで、とても上品な仕上がりですが、もう少し華やかさを出したいところ…
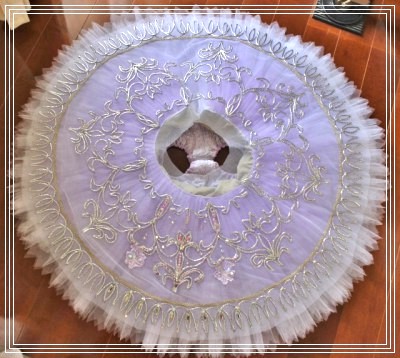
裾の部分まで広範囲に、同じブレードでラインを入れてみました。
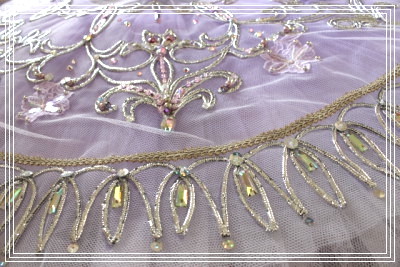
デコレを施した部分
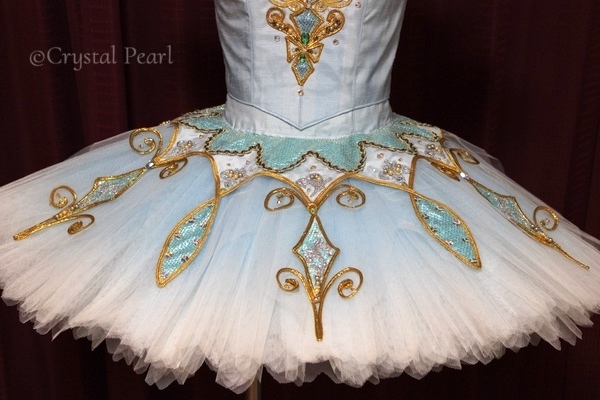
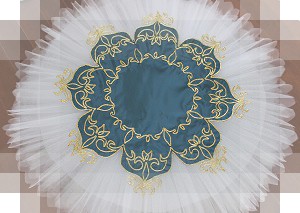
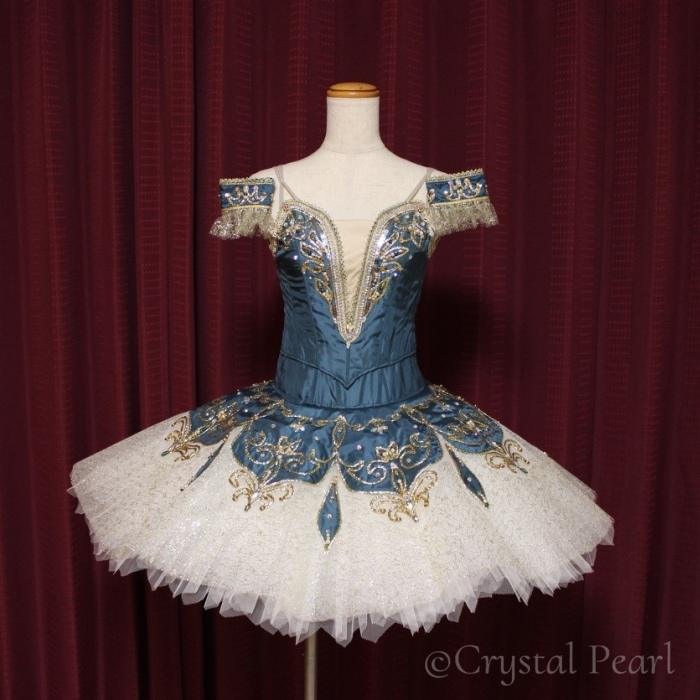
クラシクチュチュ(グリーン)ー4
身頃作り
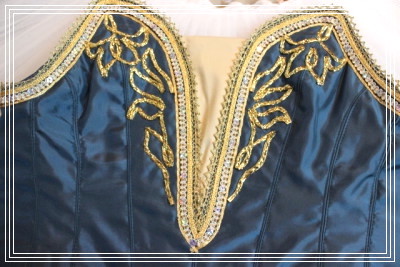
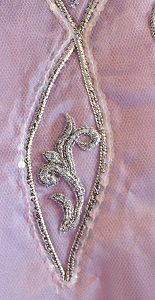
デコレーション
デコレーションのアップ画像
まとめ
ここまで、クリスタルパールの衣装デザインを作り上げていくプロセスをご紹介しました。
ご自分のお衣装作りの参考になれば幸いです。
パーティードレスならLULUTI